
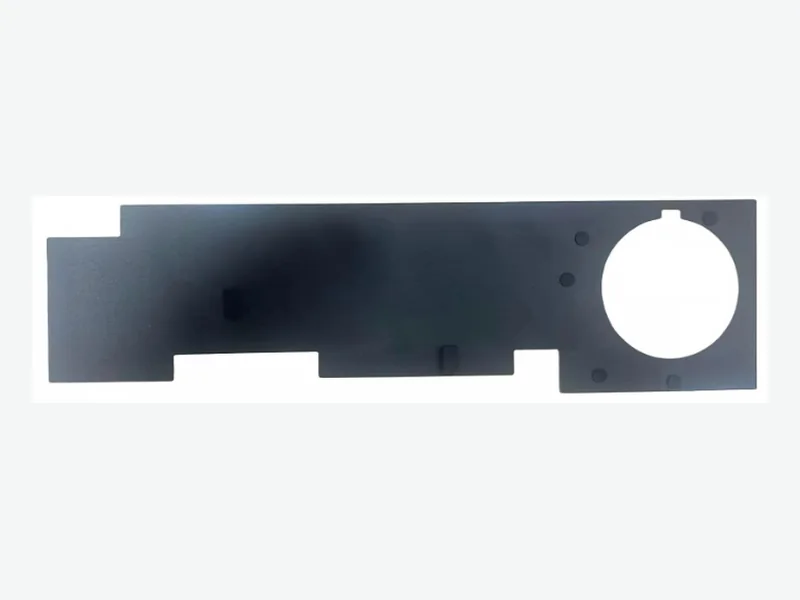
Specifying die-cut insulation for a compact robot controller starts with edge coverage and creepage distance, not dielectric strength. Define the minimum edge margin and creepage path first, then select the film and adhesive stack that can hold those dimensions after thermal cycling and assembly.
Why edge coverage fails before dielectric strength
In a dense robot controller, the insulation film often sits between a high-voltage node and a grounded enclosure or adjacent trace. The shortest electrical path is rarely straight through the film thickness; it runs along the film surface from the conductor to the film edge, then through air to the next conductor. If the film edge is too close to the conductor, the surface path becomes the weak point. Edge coverage is the distance from the conductor to the cut edge of the insulation. It must be large enough to prevent surface tracking and to keep the creepage distance above the required minimum.
Creepage is the distance along the surface of the insulation between two conductive parts, while clearance is the shortest distance through air. Both are hard pass/fail criteria in safety testing and depend on working voltage, pollution degree, and isolation class. A die-cut insulation part can increase creepage by wrapping over a board edge or covering a connector pin, but only if the cut geometry is accurate and the adhesive holds the film in place.[1]
- Measure the actual surface temperature at the insulation location during worst-case load.
- Check whether the film must survive solder reflow or rework cycles.
- Confirm the adhesive's continuous-use rating, not only the film's rating.
Setting edge margin and creepage targets
Start with the working voltage and the required pollution degree for the controller environment. For a typical industrial robot controller operating at 48 V DC or 400 V DC bus, the minimum creepage distance is defined by the applicable safety standard, such as IEC 60664-1 or UL 840. The edge margin must be added to that creepage distance. A common design rule is to keep the film edge at least 1 mm away from any conductor for low-voltage logic, and 3 mm or more for high-voltage nodes, but the exact value depends on the standard, pollution degree, and material group.
The die-cut part's edge position must be stable after thermal cycling. Polyimide film has higher dimensional stability at temperature than PET, making it more predictable when the part must maintain a precise edge position near a high-voltage node. PET is often adequate for logic boards and low-power sections, but polyimide becomes the safer default when the film must survive reflow, solder rework, or continuous exposure above PET's practical ceiling.[1]
- Define creepage and clearance requirements before selecting film type.
- Use edge wrapping or folded tabs to extend creepage without adding board area.
- Verify the die-cut part's edge position after thermal cycling.
Film thickness and dielectric strength in context
Published dielectric strength values are always tied to a specific thickness, test method, and temperature. Selected PI grades show about 154–315 kV/mm, while selected PET dielectric grades can reach about 290–350 kV/mm under their stated tests. A thinner film does not automatically give a proportionally lower breakdown voltage because breakdown strength often increases as thickness decreases. However, the actual withstand voltage of a die-cut part depends on edge quality, burrs, adhesive squeeze-out, and any pinholes or scratches introduced during converting.[1] [2]
Representative PET electronics films range from 0.012 mm to 0.500 mm, while representative high-performance PI films range from 0.0127 mm to 0.125 mm. In a compact robot controller, available height is often the binding constraint. If the design can accept a 0.05 mm or 0.075 mm PET layer, the cost advantage is significant. If the insulation must fold around a tight corner or fit under a connector with almost no clearance, polyimide's thinner available gauges and better flex endurance become decisive.[1] [2]
- Request dielectric strength with the exact film thickness and test standard.
- Account for edge damage and adhesive flow in the final part.
- Treat published kV/mm values as screening data, not a guaranteed part rating.
Adhesive and forming effects on edge coverage
Adhesive squeeze-out during lamination or die cutting can reduce the effective creepage distance by creating a conductive or semi-conductive path along the film edge. The adhesive must be selected for the operating temperature and the substrate surface energy. For a robot controller, the insulation is often applied to a PCB or a metal housing. The adhesive must hold the film in place during thermal cycling and vibration without creeping or lifting at the edges.
Forming operations such as folding, wrapping, or bending the film around a board edge can introduce micro-cracks or delamination at the bend. The minimum bend radius for the chosen grade and adhesive stack must be checked. Polyimide generally tolerates tighter bends than PET, but the adhesive layer may crack or separate if the bend radius is too small. Always specify the bend radius and the forming direction on the drawing.[1]
- Compare total stack height including adhesive and liner.
- Check the minimum bend radius for folded or wrapped parts.
- Use polyimide when the available thickness is below about 0.025 mm and temperature is elevated.
Decision matrix: PET vs. polyimide for edge coverage
The following matrix helps select the film family based on edge coverage requirements and operating conditions. It is a design aid, not a substitute for validation.
- Operating temperature below 125°C and cost pressure high: PET is often sufficient.
- Operating temperature above 125°C or reflow exposure: polyimide is safer.
- Tight bend radius or very thin gauge (<0.025 mm): polyimide is preferred.
- Edge position must remain stable after thermal cycling: polyimide has better dimensional stability.
- Large flat area with generous edge margin: PET can be cost-effective.
Validation protocol for edge coverage and creepage
Before releasing the die-cut insulation part, validate the edge coverage and creepage distance on the actual assembly. The following protocol is a practical sequence for a robot controller.
- Measure the as-cut edge margin on first articles using a vision system or optical comparator.
- Perform thermal cycling from -40°C to +85°C or the specified range, then re-measure edge position.
- Apply the maximum working voltage and measure leakage current or perform a hipot test at the required test voltage.
- Inspect for adhesive squeeze-out, delamination, or edge lifting after cycling.
- Verify creepage distance with a calibrated microscope or coordinate measuring machine.
- Document the results against the drawing and the safety standard requirements.
Drawing inputs for a manufacturable RFQ
A clear drawing is the fastest way to get an accurate quote and a manufacturable part. Include the following information for die-cut insulation in a robot controller.
- Material grade and thickness, or target properties if grade is not yet selected.
- Edge margin and creepage distance requirements, with reference to the applicable standard.
- Adhesive type and thickness, or required peel strength and temperature rating.
- Bend radius and forming direction if the part is folded or wrapped.
- Tolerances on critical dimensions, especially edge position and hole locations.
- Any required testing, such as dielectric withstand, thermal cycling, or adhesion.
- Annual volume and packaging requirements.
What to send for a useful review
- Working voltage and transient voltage at the insulation location
- Required creepage and clearance distances per applicable safety standard
- Pollution degree and material group for the controller environment
- Operating temperature range and any reflow or rework exposure
- Available thickness and bend radius for the insulation part
- Adhesive requirements: substrate, surface energy, temperature rating
- Edge margin target and tolerance for critical dimensions
- Drawing with material grade, thickness, and forming details
- Test requirements: dielectric withstand, thermal cycling, adhesion
- Annual volume and packaging preferences
Questions teams ask during selection
What is the difference between creepage and clearance for die-cut insulation?
Creepage is the distance along the surface of the insulation between two conductive parts, while clearance is the shortest distance through air. Both are required by safety standards and depend on working voltage, pollution degree, and isolation class.[1]
How do I determine the minimum edge margin for a die-cut insulation film?
Start with the required creepage distance from the applicable standard, then add the edge margin needed to account for cutting tolerance, adhesive squeeze-out, and thermal movement. A common starting point is 1 mm for low-voltage logic and 3 mm or more for high-voltage nodes, but the exact value must be validated.
Can I use PET film for high-voltage insulation in a robot controller?
PET can be used if the operating temperature is below about 125°C and the creepage and clearance requirements are met. For higher temperatures, reflow exposure, or very thin gauges, polyimide is often a safer choice.[1]
How does adhesive squeeze-out affect creepage distance?
Adhesive squeeze-out can reduce the effective creepage distance by creating a path along the film edge. The adhesive must be selected for the operating temperature and substrate, and the die-cutting process must minimize squeeze-out.
What information should I include in an RFQ for die-cut insulation?
Include the material grade and thickness, edge margin and creepage requirements, adhesive type, bend radius, tolerances, test requirements, and annual volume. A clear drawing is essential.
Sources and technical references
References support the published context and cited data. Final material and assembly decisions still require grade-specific documentation and application validation.
- PET vs Polyimide Insulation for Compact Robot Controllers | FLEXCENDflexcend.com · Published · Accessed
- PET & PI Insulation Parts engineering data and screening boundariesFLEXCEND Engineering · Accessed